This is part 2 of Canvassing 201. For part 1, click here. For Canvassing 101, click here.
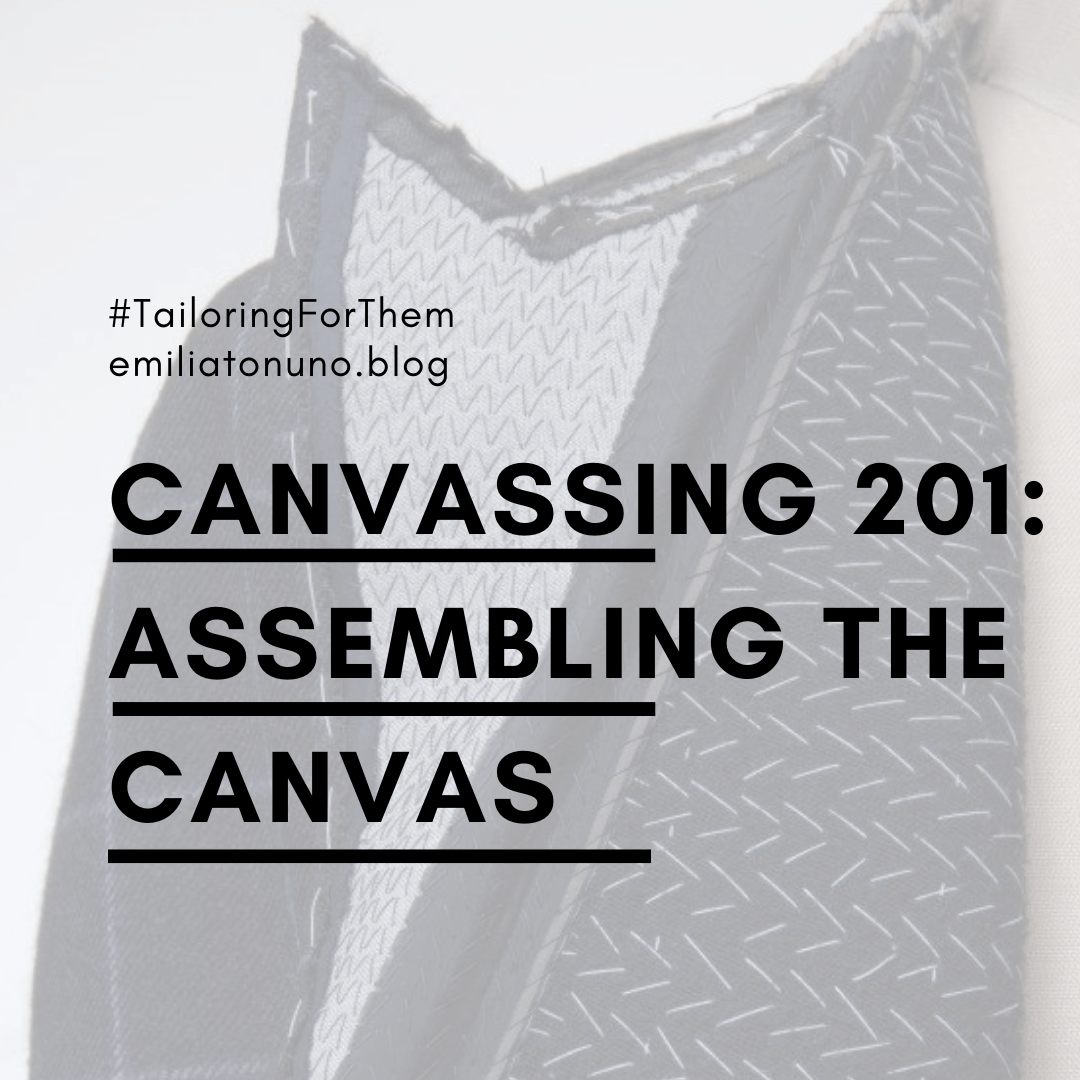
Congrats! You have made it this far. Now that you have your fronts and you have finished preparing your canvas, it’s time to baste them together so they can be treated as one. Of course, there are more rules on the specific order of basting (I promise, it makes sense), which I am here breaking down for you.

First of all, place your self fabric on top of the canvas, and align them. The first thing you should do is baste all your pocket bags (if you have them) to the canvas so they don’t flop around. Use cross stitches and any type of durable hand sewing thread you have (read here to discover the difference between hand sewing and machine thread).

Baste the entirety of the pocket bags to the canvas.
Now, be ready for a never ending series of basing and smoothing. In this illustrated guide, the basting thread is indicated by green dashed lines, and the direction of smoothing is in magenta arrows. Smoothing should be gentle, like below.
First, baste a straight line 7.6 cm from the center of the shoulder seam, to the hem line.

Then baste at the waist line, up to 2.5 cm from the edge.

Now, starting from the middle of the waist line you just basted, baste another line to the hem.

Now baste 2.5 from the edge, starting from the waist line once again, and going down to hem, and then turning to baste 0.5 cm above the hem line like so.

Now go back to line ③, and starting from said line baste up towards the shoulder seam, ending 7.6 cm from it.

Baste the roll line.

Now baste a curved line which touched lines no. ① and ⑤, and continues parallel to the armhole, but at a distance of 7.6 cm. I like to continue this line for about 2/3 of the opening, then tapering to the waist. Once at the waist, taper out so to catch the lateral edge of the canvas, and baste will the hem line.

Now baste the armhole being very careful not to stretch it! Some baste it in chainstitch, some don’t. I like chain stitching, which I think makes the most sense if you are basing through all layers including the lining – which I have not yet assembled in this example. This basting is very important since you will soon proceed to the first fitting and you want to avoid your armholes stretching.

And you are done! Now you can continue by padstitching your lapel, from the lapel roll to the seam allowance, in lines parallel to the roll, as shown in this video. Remember to always keep your lapel rolled up so to “train it”.
The “back side” of your lapel, which is faint to be folded over towards your body anyway, will look something like this.

Once you are done padstitching, its’s time for taping, in my opinion the most indispensable part of jacket making! Tape would be applied even in fused jacket fronts to achieve a crisp edge. Twill tape works best for this job, and I generally use 1.5 cm cotton tape, which I presoak and dry before use.
This will be the topic covered in the next post. Happy stitching!
E
